Showing posts with label Smoked. Show all posts

Monday, July 12, 2010

Applewood Smoked Pork Back Ribs with Apple Bourbon BBQ Sauce

Tying to update this blog on a tri-weekly basis may have been a little over zealous of me, maybe I should start with one or two updates a week. This guy should count as at least 2 blogs though as it is for both a BBQ sauce recipe and a rib recipe using said BBQ sauce.

Ingredients:
BBQ Sauce:
3 Apples
1 Onion
Olive Oil
1 Clove Garlic
1 Tbsp Mustard Seeds (black or regular)
4 Cloves
1 Bay Leaf
2-3 cm Cinnamon Stick
4 tbsp Honey
1/4-1/2 cup Apple Cider Vinegar
2 tbsp Tomato Paste
3 Ounces Bourbon Whiskey
Pork Back (or side) Ribs
Salt and pepper to taste

A lot of commercial BBQ sauces are tomato based. I wanted to build this sauce from the ground up, using as many whole ingredients as possible. I knew I was going to use Applewood chips to smoke the ribs so an apple based BBQ sauce just seemed right. Making the applesauce is pretty simple. Wash, cut and core your apples then throw em in a pot with about 3 cm of water and boil till the apples are soft. 


The reason for three different apples? I couldn't tell say! I read that applesauce should be a blend so I grabbed two of my favorites: Golden Delicious and Pink Lady. The Fiji came into the mix because... well... it was just there. I'm going to experiment with different apples, maybe even go all food labs on this recipe to find out what the best apple ratio is.

While your apples are cooking (big surprise coming...) sauté onions, garlic, salt and pepper! This is going to be blended so don't worry too much about size. Also, you are going to want to dry roast the mustard seeds, bay leaf, cloves, and cinnamon. When they are toasty grind them to a fine powder in a coffee grinder or mortar and pestle.
 

The apples aren't round, the onions are browned, and the spices are ground. Combine everything in a blender and add the honey, tomato paste, and apple cider vinegar. 


You can't really see the honey or the vinegar, but it's in there... somewhere...

Blend this concoction until it is pureed. While the blender is blending you get to do one of my favorite things. De-glaze and flam-be! Add the bourbon to the still hot onion pan. Reduce and then lite on fire. Be careful! Ask for a parent or guardians help. Use a BBQ lighter to stay far away from the flame. Or, as I did, a match taped to a spoon. 


YEAH! FIRE!


Once the alcohol is burnt off, and maybe some of your hairs, add the puree from the blender and mix it up. I planned on letting it simmer but even on low small bubbles were popping and getting sauce 5 feet up my walls.


It's not the most photogenic sauce, but it sure is tasty. I think I might add some molasses next time to darken it up. Once it cools store it in the fridge for a few days to let the flavors mellow and blend. This is the first time I've ever made this sauce and the first time I've ever made BBQ sauce so it's a miracle it actually turned out. This sauce was great on grilled chicken and made for some amazing burgers when paired with smoked Gouda, basil, garlic scapes and a poppy seed bun (with ketchup and Billy Bee Honey mustard too of course).  Another iteration is sure to pop up sometime. Now its time for ribs!

These ribs are simple and only require a few ingredients:

Ribs
Water
Bourbon
Apple Bourbon BBQ Sauce

Cut the ribs up. I like individual ribs so you get more surface area on the grill.


Put the ribs in a pot and add a liberal amount of bourbon, at least an ounce or 2. cover with water and bring to a boil. Once boiling reduce to simmer for 2.5 hours. It's long, but it makes the most tender, moist ribs I've ever had. Once fully cooked drain the ribs and cover in BBQ sauce. I let the ribs marinate for a day in the fridge but an hour should do it. Fire up the ol' charcoal grill and throw some applewood chips on. I usually use dry chip but this time I soaked them in water for about 30 minutes. This way I could slowly cook the ribs to add a deep smoke flavor. They take about 30-45 minutes to smoke then they are ready to eat. At this point the ribs will look so good you might forget to take a picture of them showing how good they look. Such was the case with my ribs so I am sorry to say, there is no final product, again. Rest assured, I will make them again and pictures will be taken!

So that's how you make delicious Applewood Smoked Pork Back Ribs with Apple Bourbon BBQ Sauce. Now here is a picture I drew of a skeleton pirate with an eyeball for a head.


Wednesday, June 23, 2010

Cedar Smoked Salmon with Lemon Thyme

On Monday I mentioned that I had made some smoked salmon on the weekend. This is based around how my Dad cooks planked salmon by bonfire. That is a much lengthier process, but will almost undoubtedly find it's way on here eventually. It's pretty simple but it is by far the best way to cook salmon (planking that is) this recipe is a close second though.

Start off by coating the salmon in salt, all kinds of salt. Salt out the WAZOO. We're talking dead sea salty here okay? I used some Cyprus Mediterranean finishing salt. Maybe this wasn't the right application for it since it is a finishing salt and I used it first. I just really like the way the crystals look, I mean, common!
It's like you are in Egypt with all those little pyramids.

Now that you have a nice salty fish you are going to want to let that sit in the sun for a few hours or days, with a fan to circulate the air above it, that's what keeps it fresh. Actually, an even better idea would be to refrigerate the salmon, covering it with a lid, parchment paper, a baby, saran wrap, anything moderately airtight really.  


After an hour or two or more, Dad wasn't really specific on this part, wash the salt off. Obviously, the longer you wait the saltier it gets. I washed my fish after an hour which left it not very salty. This was good because it let the lemon thyme really shine through, but I do like a pretty salty planked salmon every now and again.

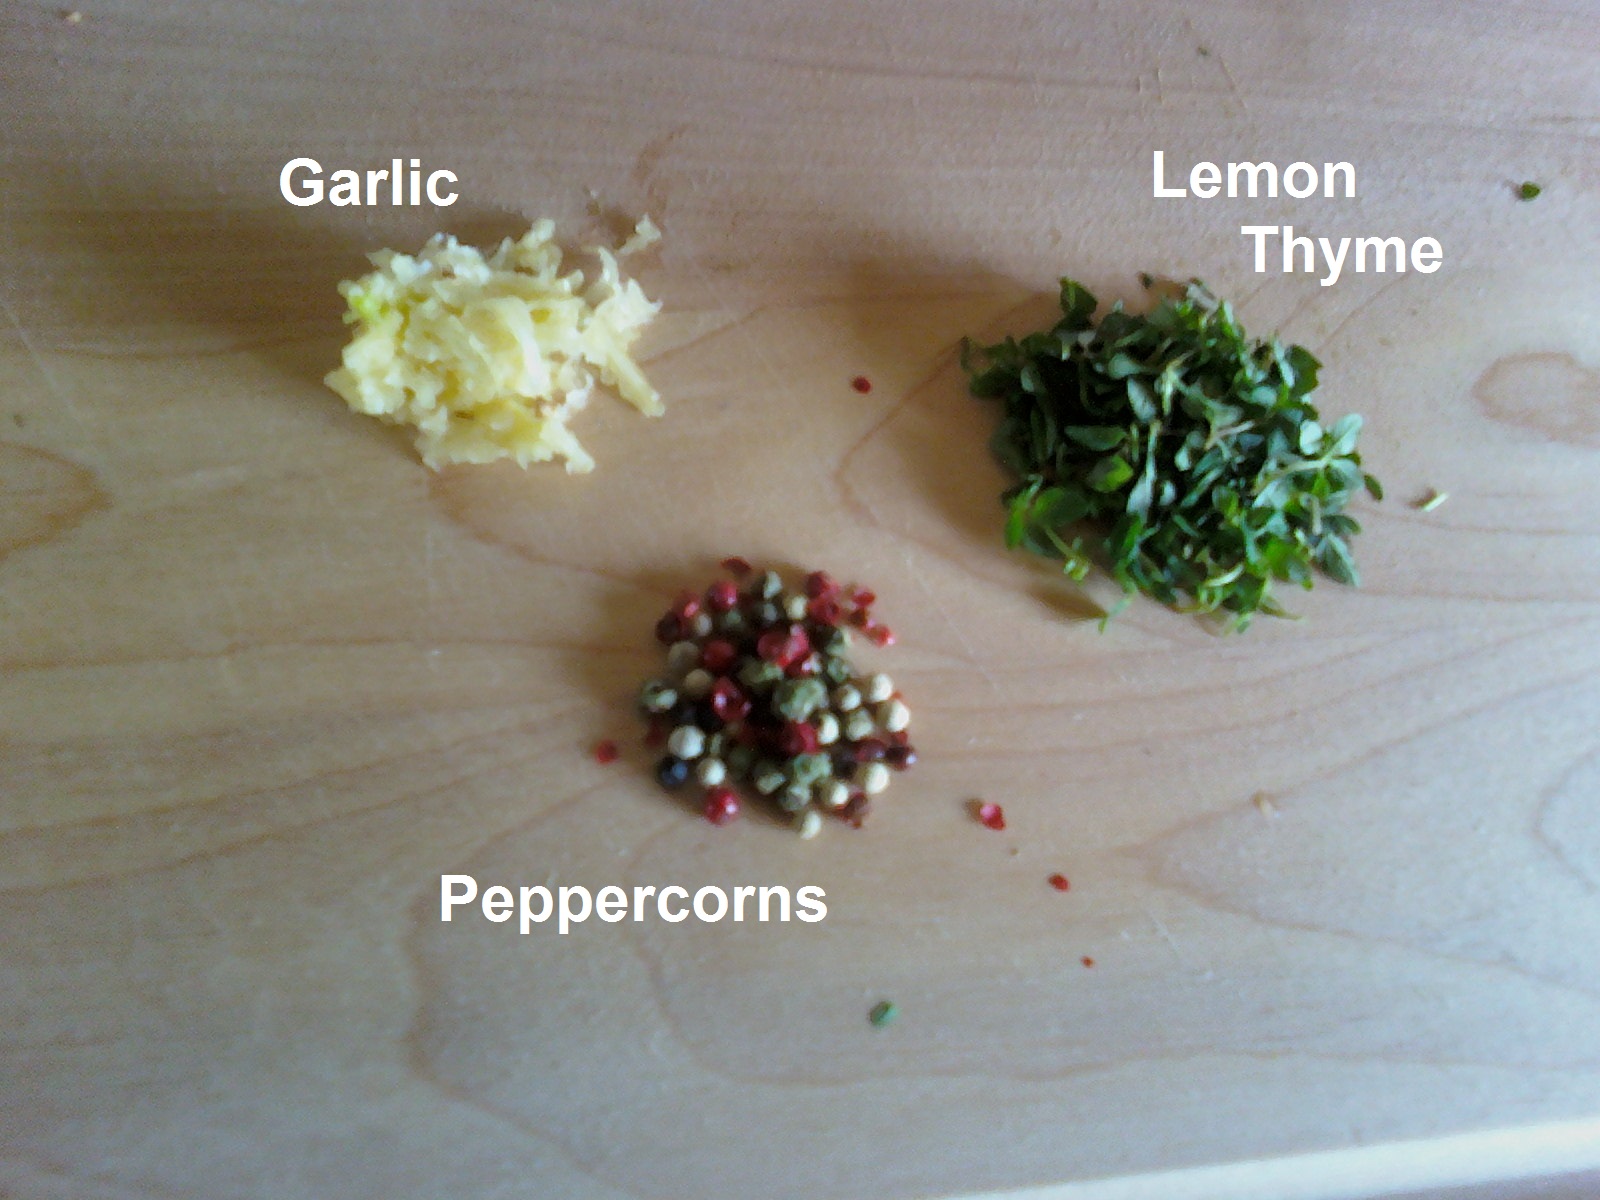
I've always like smoked salmon with a bit of lemon. Lemon thyme just seemed like a natural fit. Especially since I just happened to have some in my new herb garden. For some reason the slugs have shown a particular interest in the lemon thyme. Looks like I'll have to pour a beer out for my homies in the garden. Anyhow, back to the lemon thyme, I chopped up five springs, about 7cm long approximately. I rubbed this and about equal parts garlic and fresh ground pepper. One big clove or garlic, fresh ground red, white, green and black peppercorns.

Massage this into the salmon ever so gently. Play soft sounds of the rain forest to ease the salmon into a relaxed state. 


Let the salmon rest while you skewer some shrimp. I'm sorry to bring this about so abruptly, but it was a last minute thing. We had some shrimps and some skewers, the coals were ready, smoked shrimp are delicious, just too many reasons not to do it. It's important that you let the skewers soak in water for at least 30 minutes if they are wooden. If they are metal this isn't as important, or necessary at all. I didn't do anything to the shrimp other than lay them on the salmon after they were skewered. You really don't need to, the smoke gives them a great flavor. Someday, I will smoke some spiced up shrimp for you guys though, someday...

At this point my camera aka cellphone decided to run out of battery power as it so often does when I need it. There really isn't much else to see though. Once the coals are good and hot, I'm assuming here that anyone that reads this can use a charcoal grill. Honestly, I've only used mine like 9 times so I might not be spot on about how to set it up. Rest assured, that post is coming too. 

The coals are lit, the salmon is relaxed, the shrimp is skewered, there's just one thing missing. The smoke! Cedar and salmon are a match made in heaven I think. throw some cedar chips on the hot coals and let them flare up. then, lay the salmon, skin side down, on top of the grill. place the shrimpies on then close the lid. Let this smoke for about 20 minutes. larger fish will take longer. After 20 the coals will probably need some oxygen to keep burning so take off the lid to let the coals breathe. If the salmon is flaky and pink throughout (a different pink than when you started) it's done! It coals even be a bit yellow or brown from the smoke. You might even want to remove the salmon before it is fully cooked as it will cook while resting. 

So that's how you smoke a delicious salmon with lemon thyme. Now here is a picture I drew of a Bearded Fish.


Tuesday, June 15, 2010

Hickory Smoked Mac & Cheese


I've been thinking a lot about Mac & Cheese lately. Far too much for any healthy human being. Finally, while in the grocery store yesterday I broke down and bought the necessary ingredients:

Onions
Butter
Mild Italian Sausage
Salt
Pepper
Garlic
Basil
Oregano
Chipotle Hot Sauce
Milk
Balderson Heritage Cheddar, Aged 3 Years
Tre Stelle DELUXE Mozzerella
Lumaconi Noodles
Panko Breadcrumbs
Hickory Wood Chips

You may notice that I did not include any measurements. I don't usually measure anything while cooking unless I'm baking. Also, you may notice there aren't actually and macaroni noodles in this mac & cheese. I opted for lumaconi which is basically a giant shell. I wanted to add some left over sausage bits so I thought they might like to nestle up in the lumaconi beds. I bet now you would probably like to see some pictures of this delicious casserole and maybe learn how to make make it. So lets do that now...

Dice an onion and toss it in a sauce pan with a nice hunk of butter, about 1cm thick.

When it looks and smells delicious add your sausage - I used 4 sausages from a weekend BBQ, garlic - 3 big cloves, basil and oregano - I would have preferred fresh but I haven't had time to get my herb garden from Halifax to Truro yet, salt and pepper to taste - less salt as there is lots in the sausages. Save some sausage bits for later.

Throw in a splash (or eight) of Chipotle Hot Sauce - I used some stuff my Mom got me in Mexico but Super Store has some stuff that is pretty good. The shark sticker is a message to my room mates warning them to not use this hot sauce under any circumstances.

Next you are going to want to add some milk - about 2-3 cups depending on how many noodles you are cooking. Oh, I should mention, you should be boiling the noodles by now. After the milk is nice and warm add the shredded cheeses. I used about 200 grams of each. Depends on how cheesey you want it. The Balderson is pretty strong, but the Mozzarella calms it down a bit. Save some cheese and sausage bits for later.

Let this simmer for a bit while the noodles finish cooking. It should look like this:

Then drain the noodles. I like to wash them a bit too to get the starch off. Add the sauce and try not to eat it all. It's pretty good now but the smoke flavor really kicks it up a notch.

Remember those extra sausage bits and cheese scraps? Mix those in a bowl with hardy pile of bread crumbs or cracker crumbs or some combination. As long as it is crunchy. I used panko bread crumbs since that's what I had in the cupboard.

Ever so gently scoop the noodles and cheese into some kind of fire proof vessel. I used Dollarama foil pans for easy clean up. Fire and cheese do not make for an easy clean up job. Cover the casserole with the cheese, sausage, crumb mix and fire it onto the grill.


Hmm... The grill... I should probably talk about that since it is pretty important... To get a nice smoke flavor you are going to want to use a charcoal BBQ and some hickory wood chips. I like to throw the dry chips right on the hot coals and let them ignite.

Looks good, throw the casserole on and close the lid. This picture is pretty bad. I tried to doctor it up with some photo magic but it was useless. I hope to bet a better camera than my cell phone soon. Maybe for my birthday... *hint hint*

Now put the lid on leaving only the bottom vents open. This smothers the fire and fills the grill with smoke.

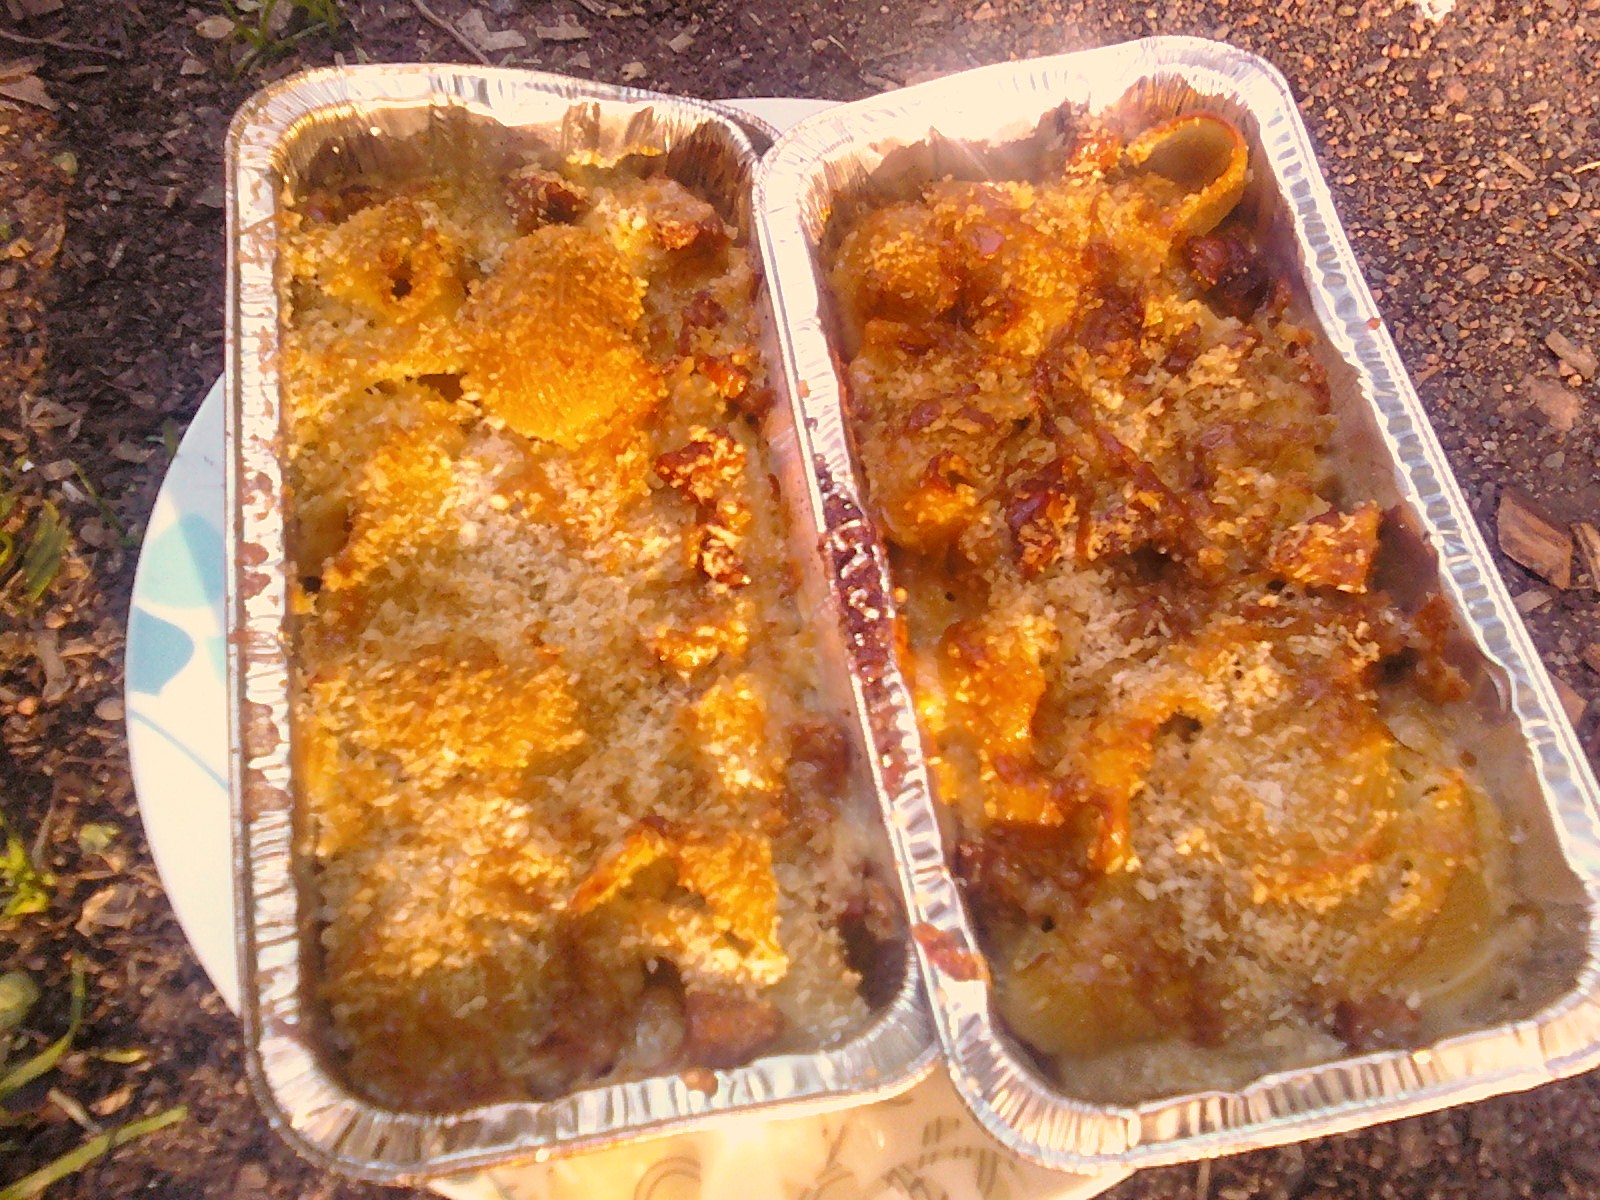
After 15 minutes or so I opened the lid a bit to let some oxygen in. This allows the coals to burn better. I was really surprised how toasty the top became. I thought I would have to broil it a bit but it turned out great.

The above photo really doesn't do this dish justice. The topping was really smokey and the innards were gooey with cheesy goodness. I ate a whole casserole for dinner. I'll definitely have to make this again.

I hope you enjoyed this first creation. I can't be sure when I the next idea will come out, but it will be soon as these guys aren't going to last long. So that's how you make delicious Mac & Cheese. Now here is a picture I drew of a cheese with a mustache.