I found some scapes at the Truro Farmer's Market on Saturday morning. I picked up some carrots and basil as well. A pack of ferocious slugs attacked my basil plants, reducing them to shredded leaves. They are still alive so I am going to transplant them into hanging baskets. I'd like to see the slugs get at them 6 feet in the air!
What you need:
Pesto:
1 handful of garlic scapes
1 handful of basil leaves
Almonds
Fresh grated parmigiana cheese (no powdery garbage!)
Olive oil
Yogurt
Water
Linguine
Grilled Chicken:
Chicken
Grill
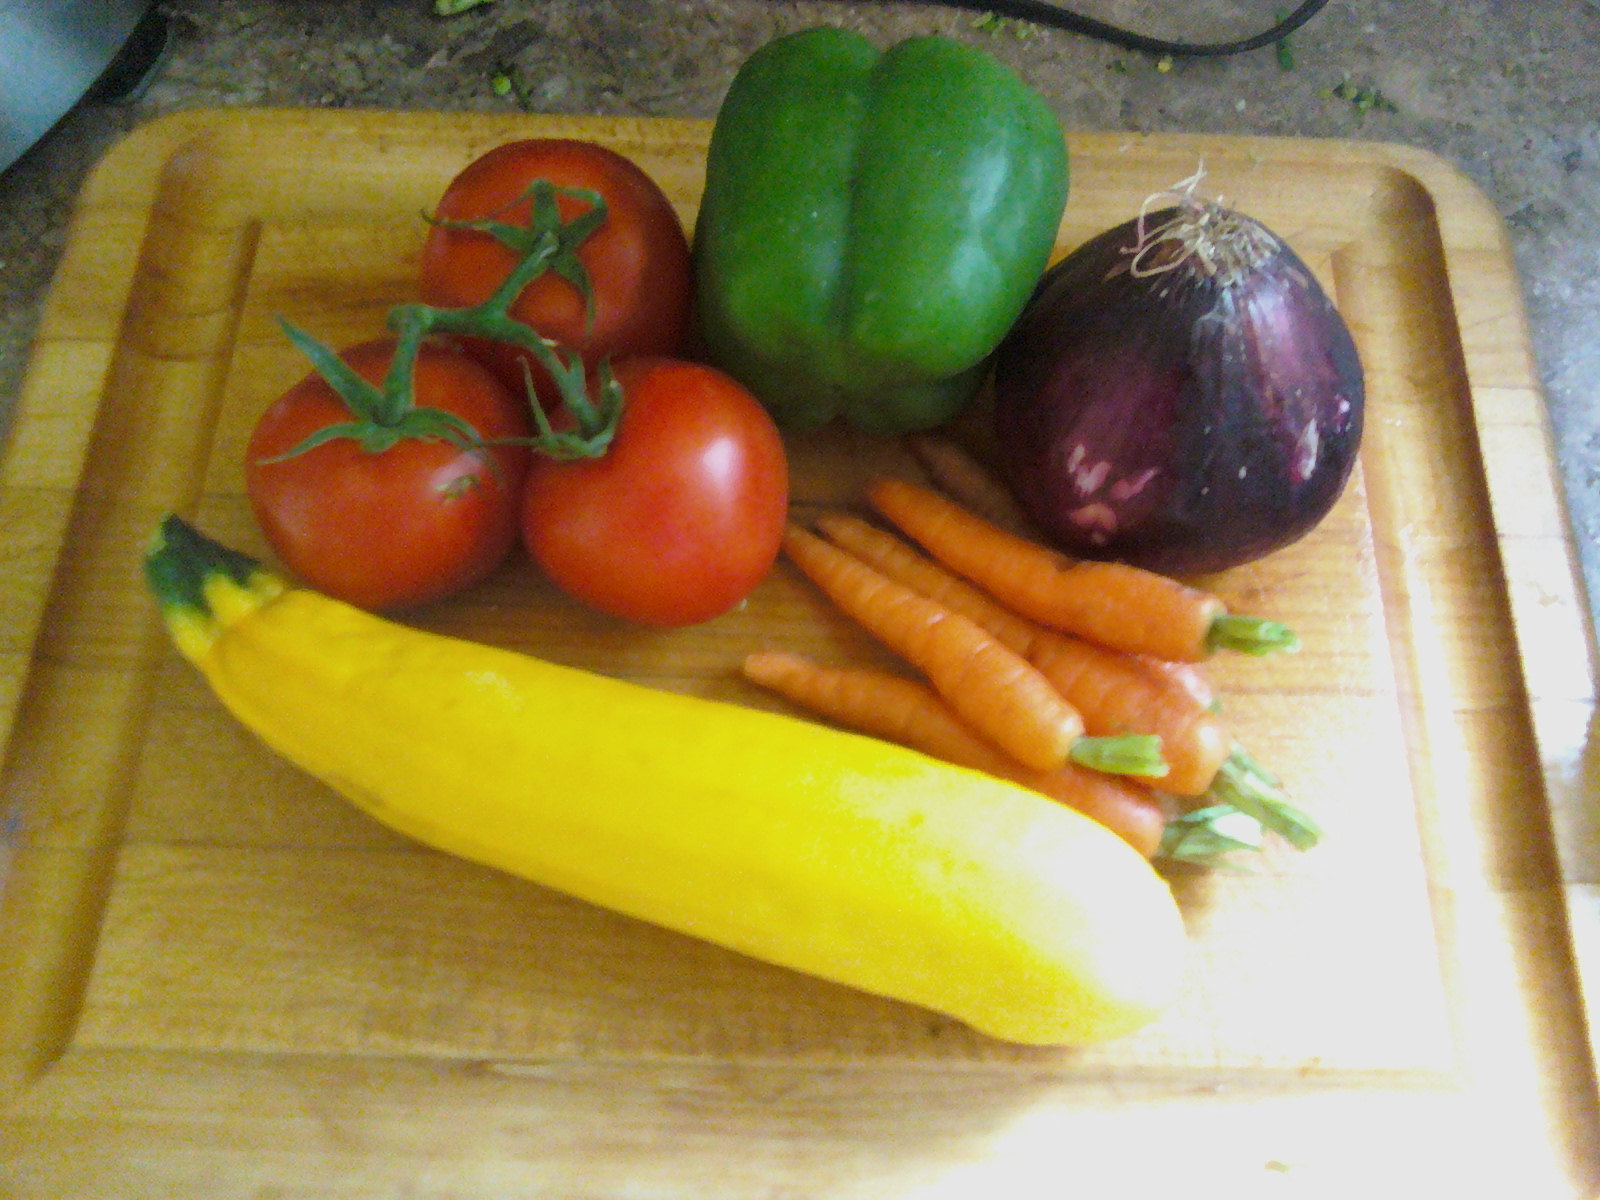
Vegetables:
Yellow Zucchini
Green Pepper
Purple Onion
Red Tomatoes
Orange Carrots
Sorry about not measuring the pesto ingredients. I just used most of what I got at the market.

A keen observer might notice that carrot greens are shown in the above picture but not in the ingredient list. That is because they taste AWFUL. I found some carrot green pesto recipes before I made this pesto so I thought I could throw some in. Nope. The basil was completely overwhelmed, as well as the almonds. I was not impressed. It was still okay, but not as amazing as I had hoped. Round two will not include carrot greens. I repeat, NO CARROT GREENS!
Anyway, chop all the ingredients into small pieces. Maybe 1 inch or less. I didn't do this and it made blending them a real pain. As you can probably imagine, the next step is to blend everything up with a bit of olive oil. Maybe I just have a crummy blender but this was a very lengthy and difficult process. The stuff just wouldn't blend. I didn't want to add water so I used 4 tablespoons of plain yogurt. Still, no blending, even after stirring and pushing the greens around. So I added more olive oil, then more oil, more oil still... After I had used about half of my olive oil I broke down and added about a cup of water, very slowly till the blades caught. Finally! Delicious looking pesto!

Okay, so it doesn't look that great, but it tastes a lot better than it looks. Sorta. Stupid carrot greens, you are the bane of my existence!
Grilling the chicken and veggies is pretty simple.
Heat up the grill, cut veggies, put chicken and veggies on grill.

Of course, this had to go wrong too. As I was filling up my grill with coals I realized I had run out and only had half as many as I would have liked. Not good. The chicken got the prime real estate on the grill so it would cook through. The veggies weren't so lucky. The rest of the grill wasn't hot enough so they cooked but also wilted a bit. they were still pretty good though. I was really surprised with the tomatoes. I don't even like tomatoes but these guys were delicious after being grilled. When the chicken was close to being done I slathered it in pesto.

There was a bit of collateral damage to a nearby tomato but it turned out okay.
While you grill your veggies you should probably cook the linguine. Boil water, noodles in the water, strain, rinse, pretty standard stuff. Toss the noodles in the pesto and you are good to go! The chicken and vegetables took about 25 minutes I think. You can see when the vegetables are done because they looked cooked.